Connect Codex Desktop to TeamoRouter
Codex Desktop is OpenAI's desktop AI coding assistant.
Option 1: One-click setup with Teamo Desktop (recommended)
You can now connect Kimi K3 and the full GPT model lineup!
Teamo Desktop is TeamoRouter's official desktop app. It can download Codex Desktop, connect it to TeamoRouter, and apply the model configuration for you, so the whole setup can be finished in a few minutes.
Download for Windows Download for macOS
Tip: On Windows, if a security warning appears, click "More info" then "Run anyway". On macOS, right-click the app and choose "Open".
After installation, create or sign in to your account.
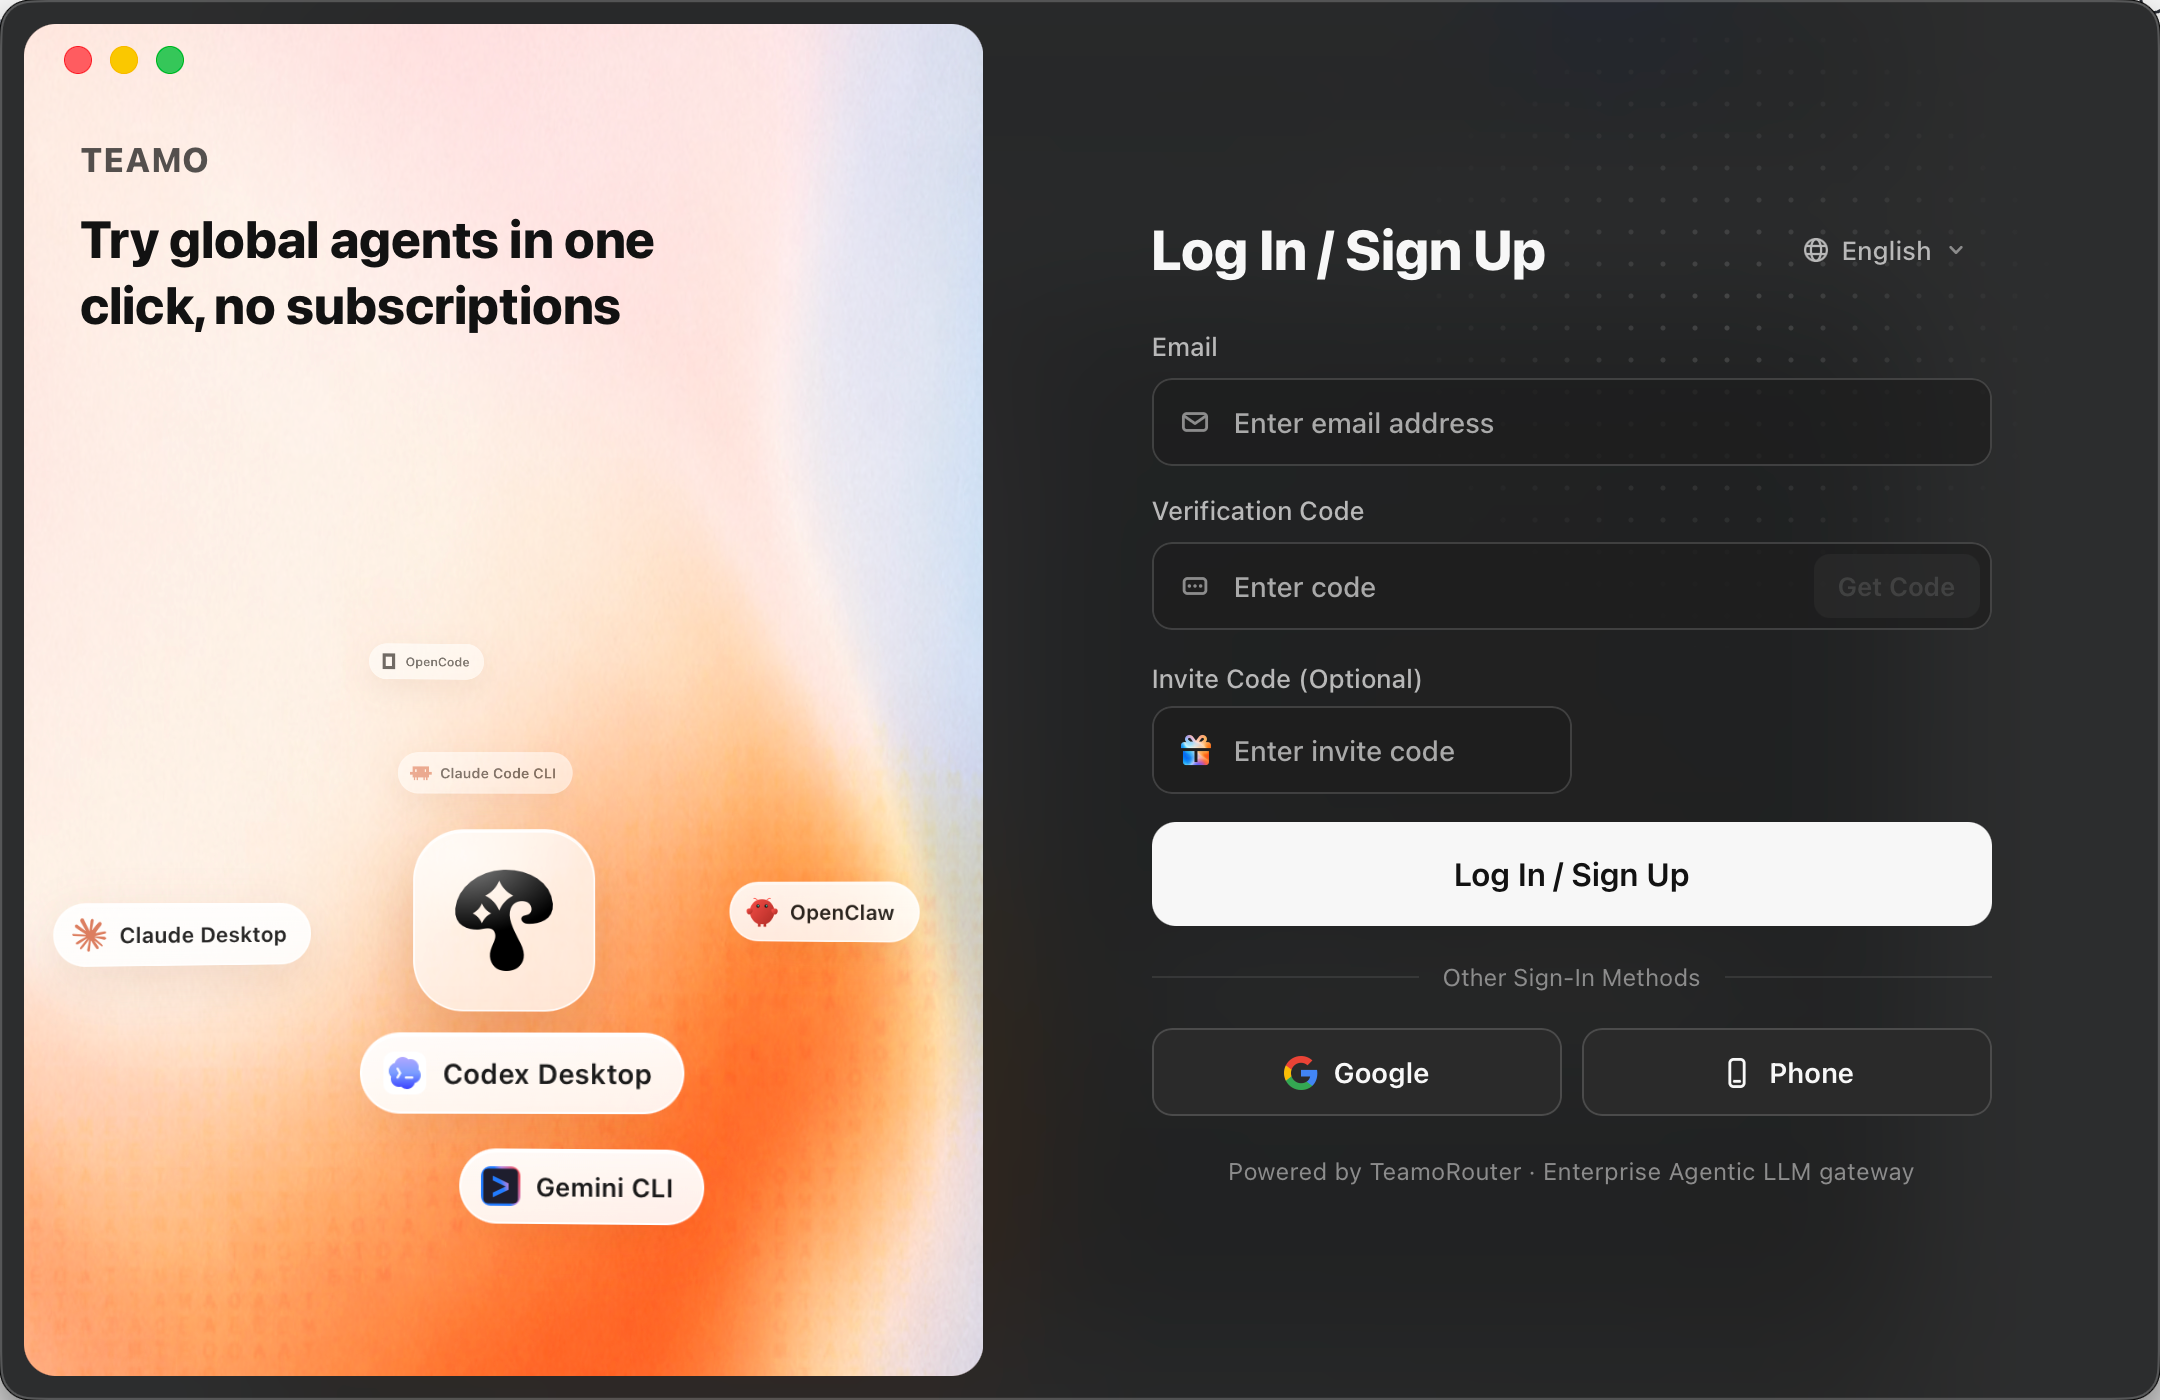
In Teamo Desktop, find Codex Desktop and install it, or download it yourself from the OpenAI download page.
Then click the “Connect to TeamoRouter” button. A model selection dialog will appear; select the model you want to connect. To use Kimi K3 in Codex, select Kimi K3 here before connecting.
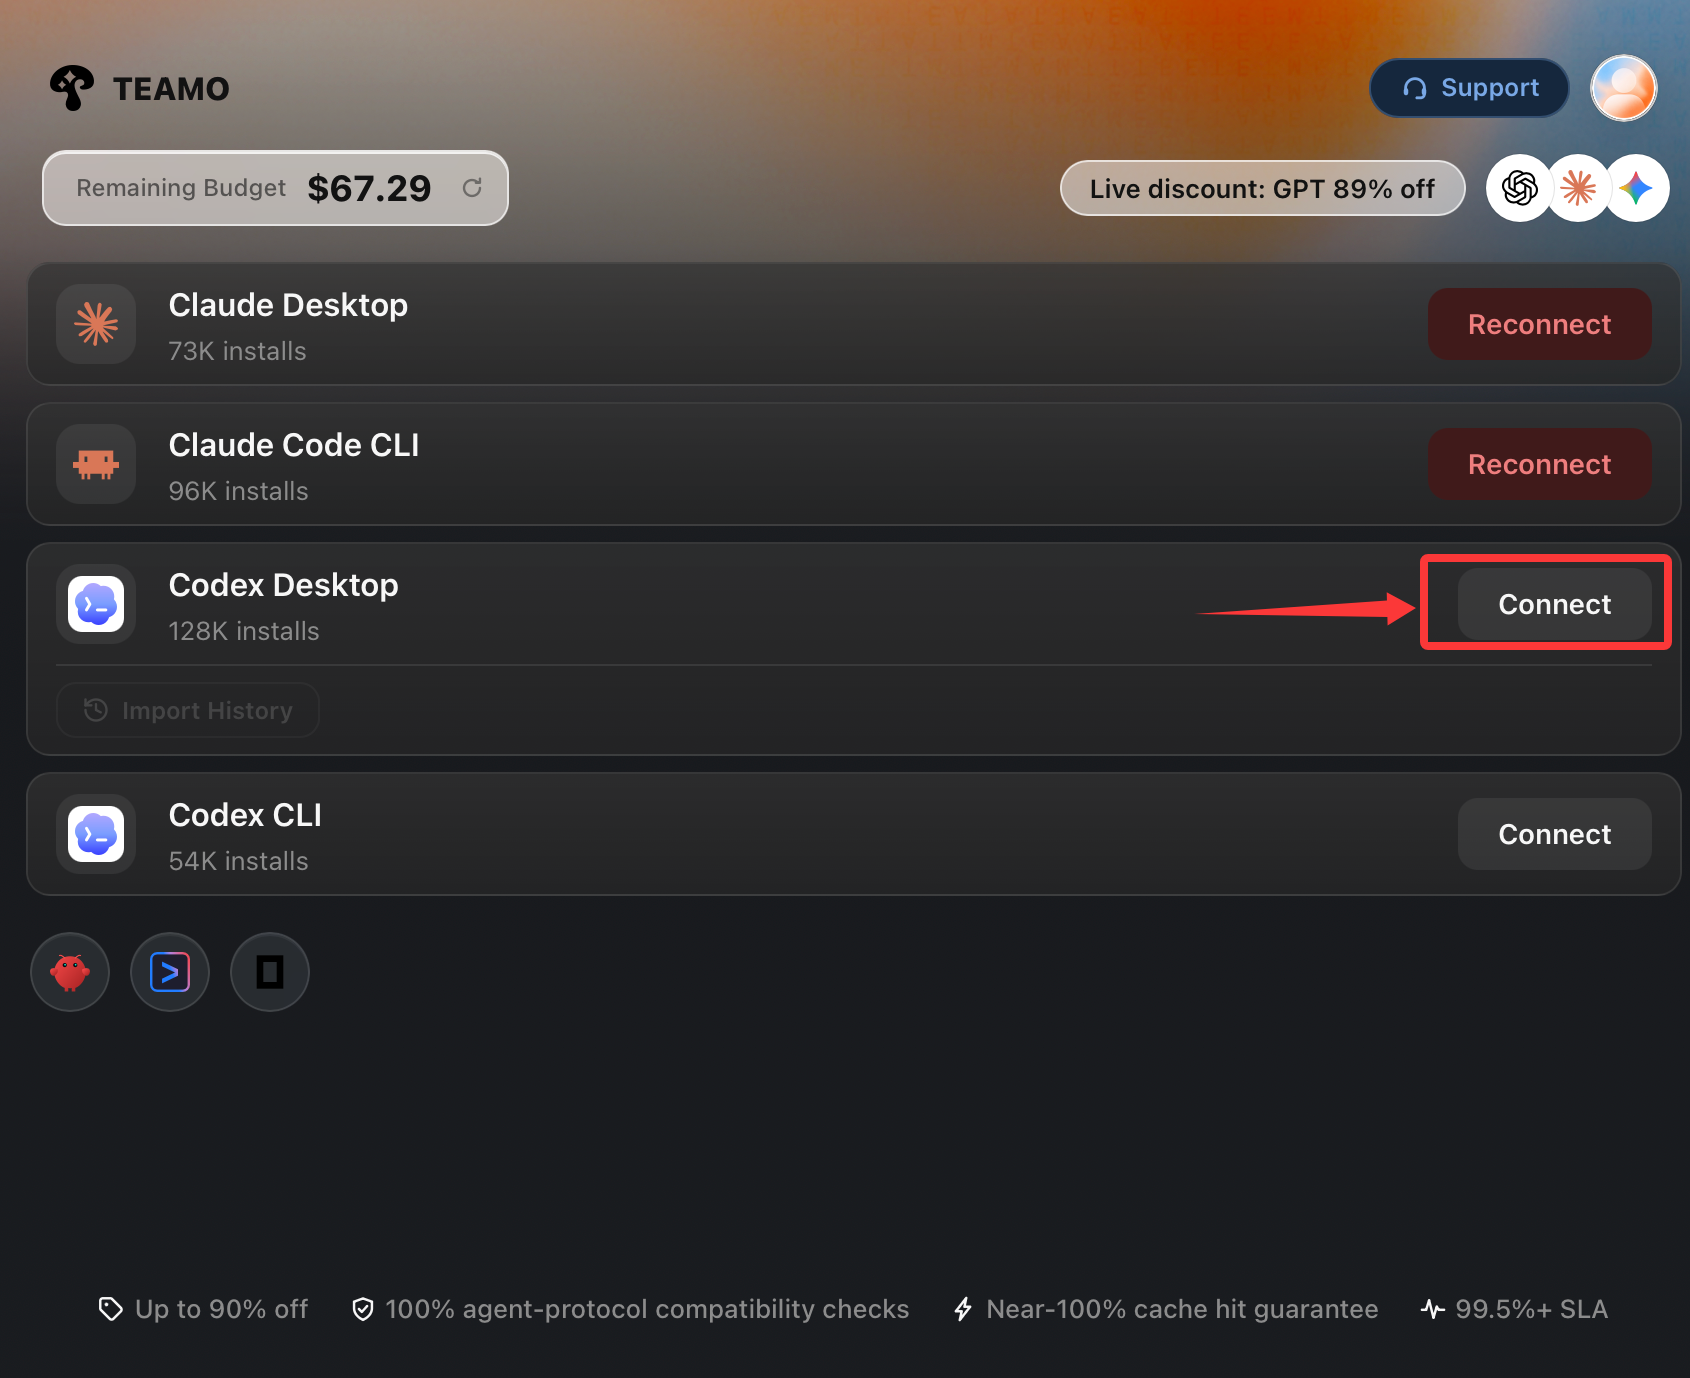
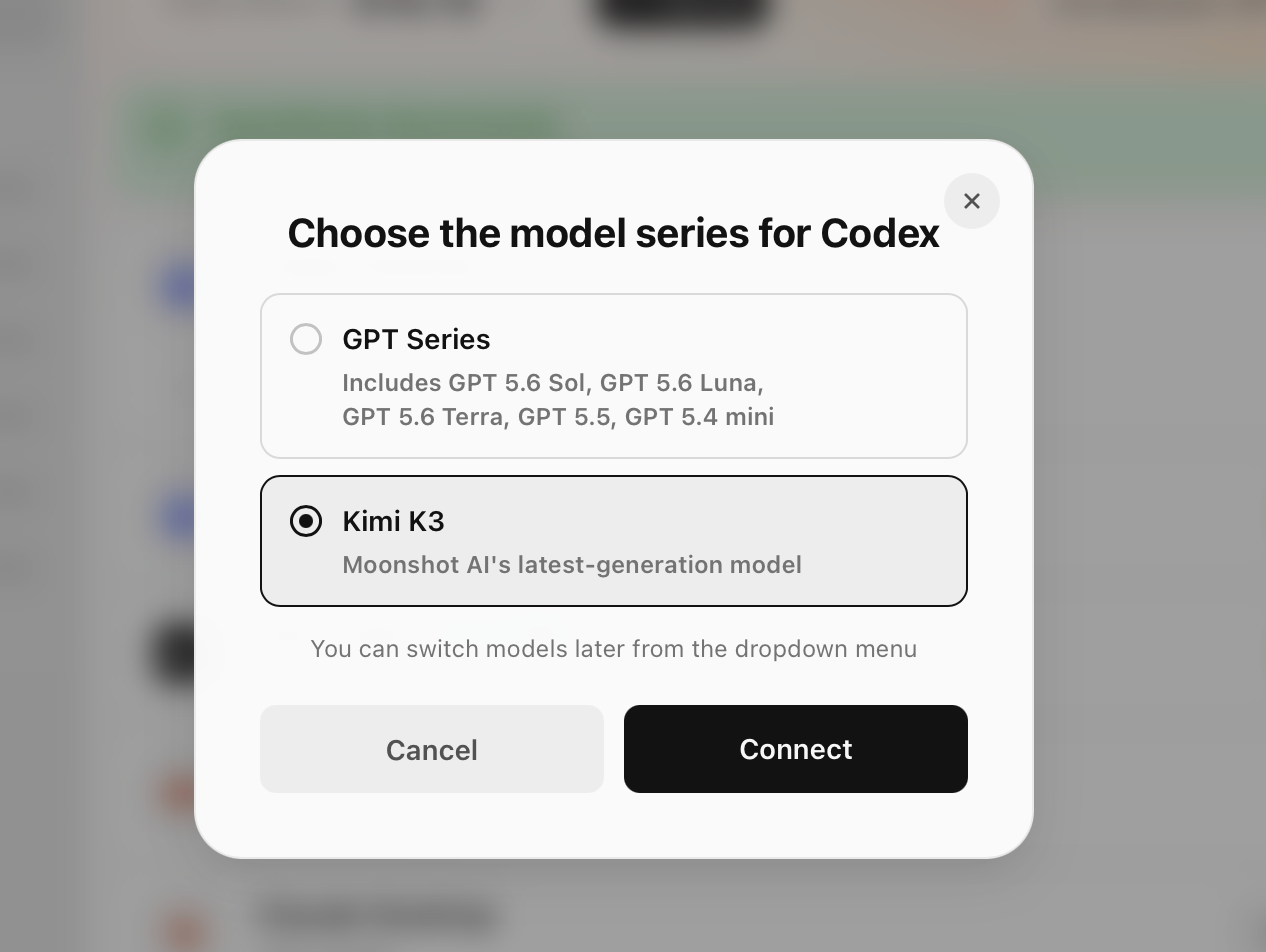
The client will automatically connect and configure Codex Desktop on your computer with TeamoRouter.
To switch back to an official OpenAI subscription, click "Disconnect TeamoRouter". This removes the TeamoRouter connection from Codex Desktop.
Once setup is complete, click “Open App” to start using Codex normally.
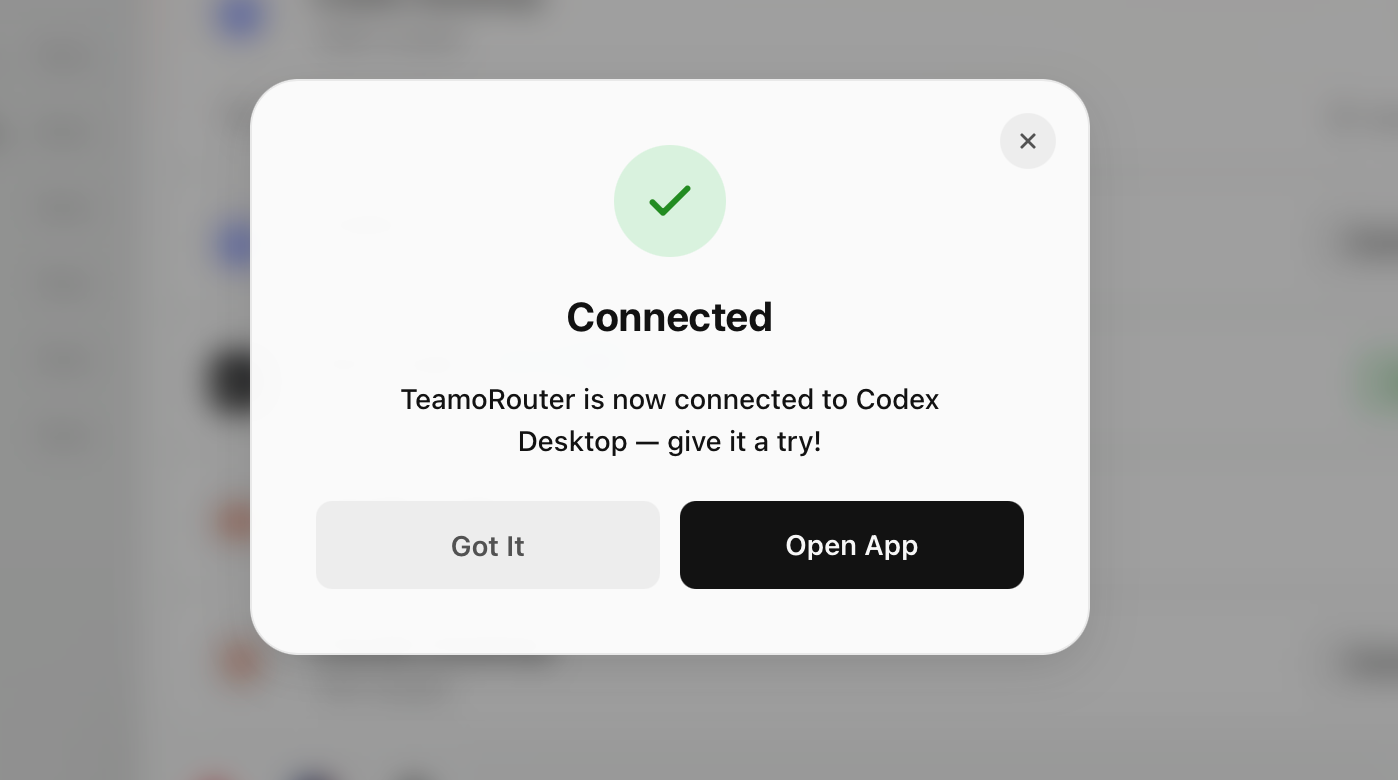
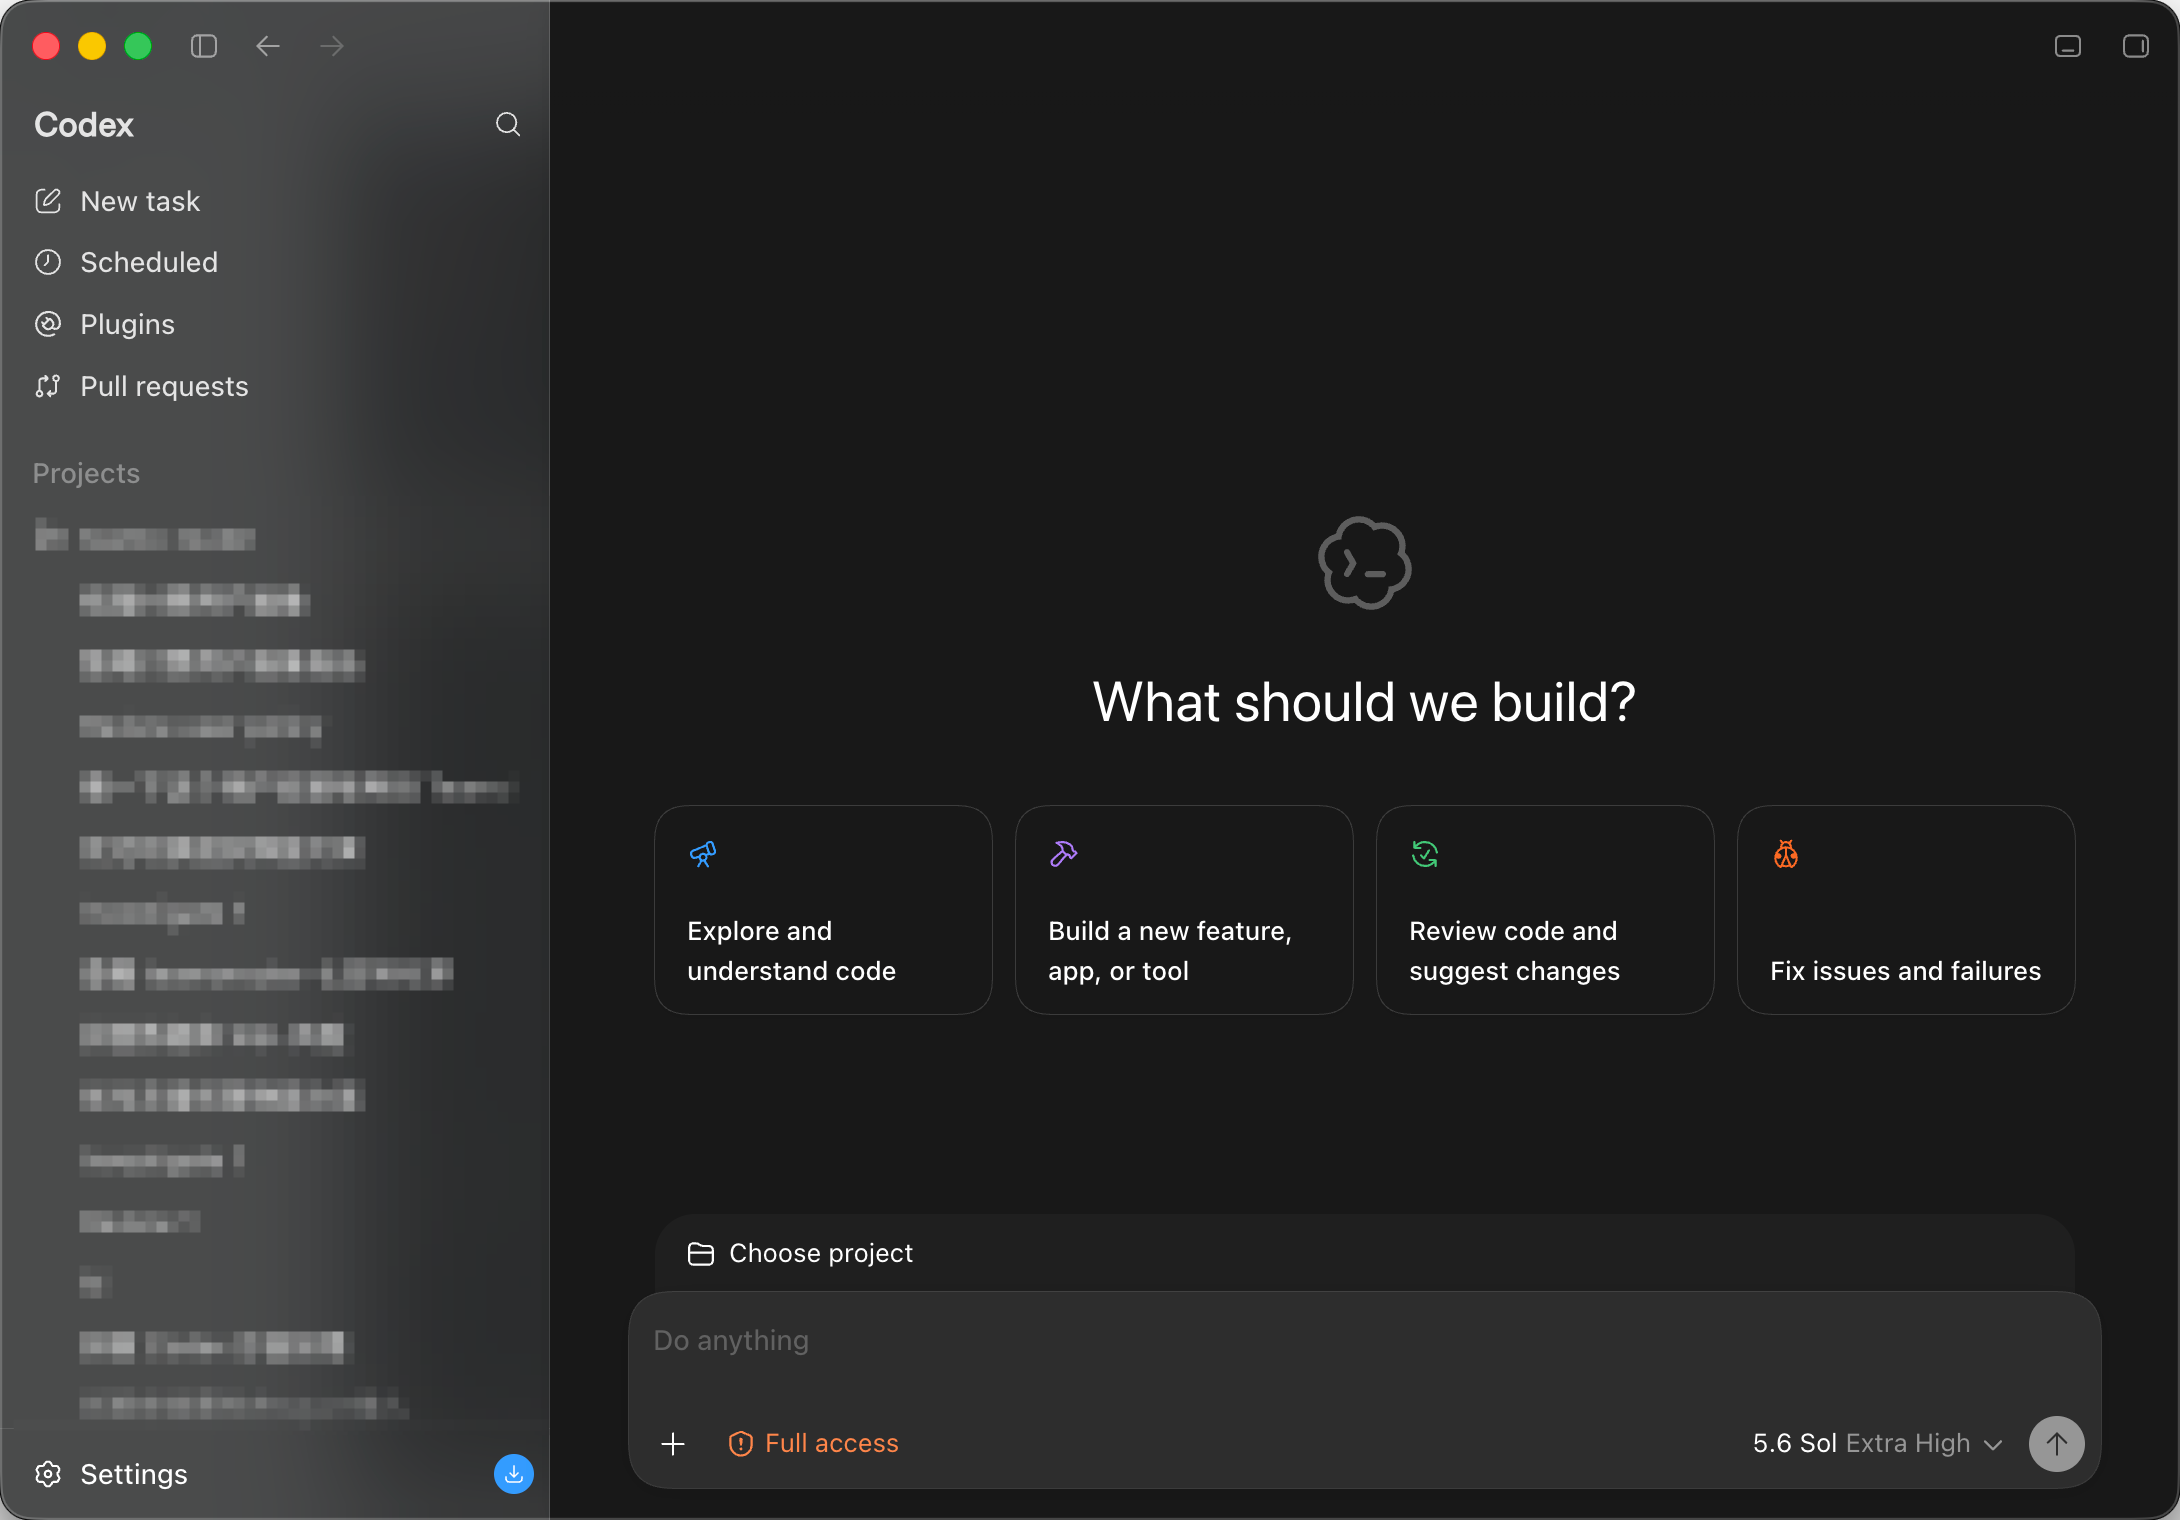
You can review usage for each request in the TeamoRouter dashboard.
Option 2: Manual setup (not recommended)
If you do not want to use Teamo Desktop, follow this section to install Codex Desktop and connect it to TeamoRouter manually.
Download Codex Desktop manually
Skip this section if Codex Desktop is already installed.
-
Download Codex Desktop for your system from the official OpenAI website, then install it.
-
Open the installer and finish the installation. Linux users should use the CLI version for now. See Connect Codex CLI to TeamoRouter.
Update the system configuration file
macOS / Linux
Open a terminal, paste the full block below, and press Enter:
mkdir -p ~/.codex && cat > ~/.codex/config.toml <<'EOF'
model_provider = "teamorouter"
model = "gpt-5.6-sol"
model_reasoning_effort = "high"
[model_providers.teamorouter]
name = "TeamoRouter"
base_url = "https://api.teamorouter.com/v1"
env_key = "OPENAI_API_KEY"
wire_api = "responses"
EOF
Windows
Open PowerShell, paste the full block below, and press Enter:
New-Item -ItemType Directory -Force -Path "$HOME\.codex" | Out-Null
@'
model_provider = "teamorouter"
model = "gpt-5.6-sol"
model_reasoning_effort = "high"

[model_providers.teamorouter]
name = "TeamoRouter"
base_url = "https://api.teamorouter.com/v1"
env_key = "OPENAI_API_KEY"
wire_api = "responses"
'@ | Set-Content -Path "$HOME\.codex\config.toml" -Encoding UTF8
Set the API key
Replace <your-TeamoRouter-key> with your own API key. You can create it in the TeamoRouter dashboard.
macOS
echo 'export OPENAI_API_KEY="<your-TeamoRouter-key>"' >> ~/.zshrc
source ~/.zshrc
Linux
echo 'export OPENAI_API_KEY="<your-TeamoRouter-key>"' >> ~/.bashrc
source ~/.bashrc
Windows
[Environment]::SetEnvironmentVariable("OPENAI_API_KEY", "<your-TeamoRouter-key>", "User")
Windows users: after running the command above, fully close Codex Desktop and open it again so it can read the new environment variable.
Launch Codex Desktop
Open Codex Desktop. If it was already running, quit it completely and reopen it.